DIY - Champagne Twist Bracelets
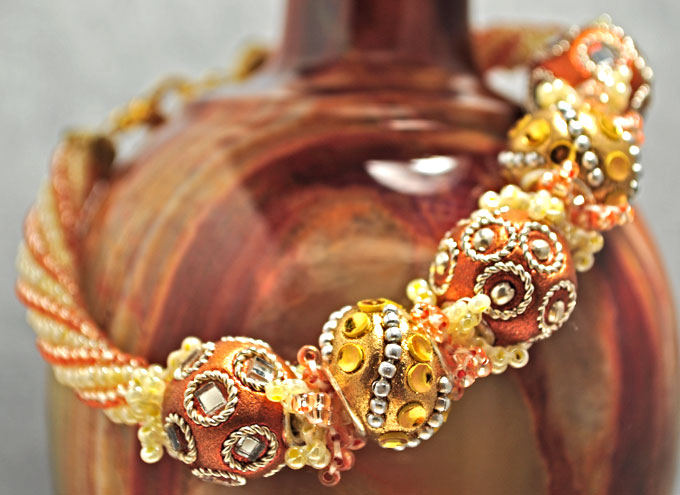
A beautiful combination of colors amplify the tubular herringbone twist, which is the signature stitch in this piece. The spiral pattern accentuates the graceful metal designs in the Maruti Beads. A ladder stitch runs through the beads connecting both twists, and reinforcing the beadwork.
Inspired by the the colors of the beads, this piece is reminiscent of a lavish party. This happens to be an intermediate project, perhaps for a learner seeking a challenge.
Materials:
- 11/0 Banana Cream Seed Beads (A)
- 11/0 Champagne Seed Beads (B)
- 2 Kashmiri Beads (C) - MBD-199
- 1 Kashmiri Bead (D) - MBD-880
- 2 Euro Style Kashmiri Beads (E) - MBD-562
- 2 Gold Plated Eyepins or Gold Wire
- 1 Gold Plated Lobster Clasp
- 1 Gold Plated Jump Ring
- 2 Gold Plated End Caps or Bead Caps
Tools:
- #12 Beading Needle
- Round Nose Pliers
Click on images to magnify.
We will start with what is called the Tubular Herringbone Twist.
Step 1
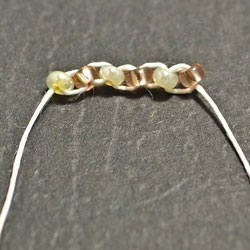
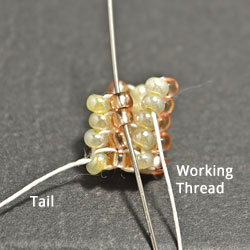
Using about 5 feet of thread, make a ladder stitch (one bead per rung) with the following color pattern: 1A, 1B, 1A, 1B, 1A, 1B.
Step 2
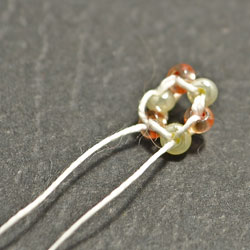
Connect each end of the ladder to form a ring.
Step 3
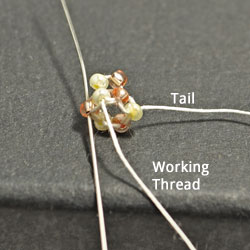
String 1B, 1A. Go down through the B below it (ring base). Come up through the A on the ring base.
* Continue in this fashion around the circle to form the 2nd row.
Step 4
Repeat Step 3 to form the 3rd and 4th rows, only weaving down through the previous row for each stitch (not all the way to the ring base). At the end of the 4th row, make sure you come up through three beads instead of two as before.
* These first four rows are regular tubular herringbone, the twist starting at the beginning of the 5th row.
Tip: Make sure that you are stringing the colors in the correct order, so that the bead in the above row matches the one below it.
Step 5
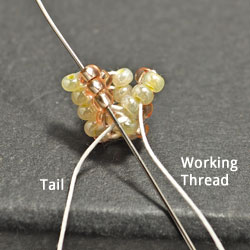
For the 5th row, string 1B, 1A - exiting out of one. (You have come up through three beads to start this row- this is very important!) For the rest of the sets in this row, you will be coming up through two beads and out one.
* When you finish a row it is very important that you come up through three beads to start the new row! This is what makes the twist.
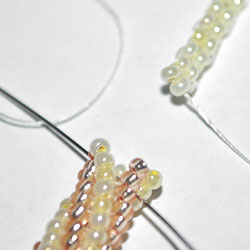
Step 6 (above picture): Repeat Step 5 until you have 38 rows total, or two inches in length for the twist.
Step 7 (no picture): Repeat Steps 1-6 to make a second twist. Tip: All tails may be tied and weaved in at this point. It will make it a lot easier to keep the working thread untangled when you start attaching all of the pieces together.
Step 8 (above picture): Using about 5 feet of thread stitch a 38 rung ladder (two beads per row) in either color, leaving a two foot long tail. (I used color A.)
Step 9
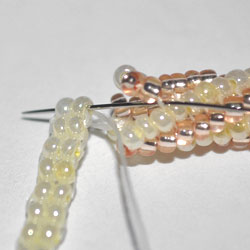
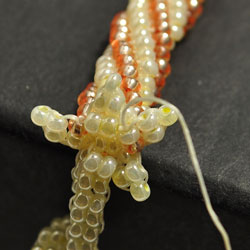
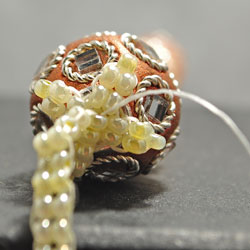
Now we will attach the long ladder to one of the twists. Using the working end of the long ladder insert the needle through the flared end of the twist. (I started about two rows down from the top.)
* Make sure you are going through the end of the tube that you left off at. It fans out slightly.
Step 9 (continued)
When coming back through, make sure you are between rows on the tube (to hide the thread). To complete the circuit, go through the ladder.
Tip: I recommend that you do this several times, in order to reinforce the attachment. When finished, exit out of a top bead on the twist.
Step 10
Go down through the next top bead (like you are continuing the twist). String 1A, and go up through the top bead in the next set. (We are filling the gaps between sets.) Do this all the way around the twist, except stringing 2A between the last two sets. This will be referred to as “the circle”.
Step 11
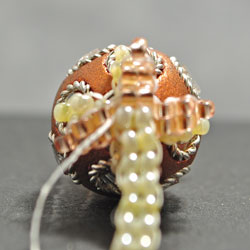
On the first set of two beads in the circle, make a two bead ladder rung on top of it with color A. On top of this stitch make a one bead ladder rung (it will look like the point of a star). I will refer to these as “points” for the rest of the tutorial. Weave back down through the point and repeat this process for every set of two beads in the circle.
* Do this all the way around the circle to form five points. Exit out near the inside of the twist.
Step 12
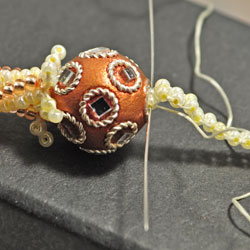
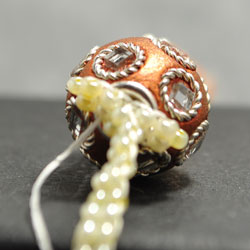
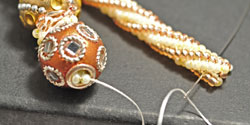
String the main ladder, as well as the working thread through 1C bead. Pull snug and go through the two beads on the ladder that are closest to the top of the C bead.
Step 13a
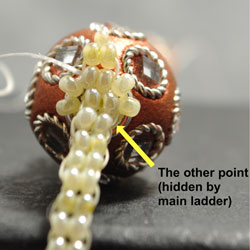
Make a point with color A on each side of the ladder, exiting out of the first stitch on the last point made (two bead rung). Note that both of these points share the same base on the main ladder.
Step 13b
String 2A, then go through the first rung stitched on the opposite point. String 2A, and go through the first rung on the next point and finally the first 2A strung. This will make a square.
Step 13c
Make two more points on each side of the other points made. (You will use the two beads strung on each side of the previous points as your base for each new point.) This will look like a four point star.
* On the last point, weave back through to the main ladder. Exit out on to the rung above the star.
Step 14
Repeat Step 13 in the color B.
Step 15 (no picture): Repeat Step 12 with bead E.
Step 16 (no picture): Repeat Step 13 with the color B, then the color A.
Step 17 (no picture): Repeat Step 12 with bead D. * At this point I have had to add another working thread. I added it to the main ladder in the piece.
Step 18 (no picture): Repeat Step 13 with the color A, then the color B.
Step 19 (no picture): Repeat Step 12 with bead E.
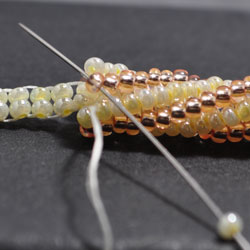
Step 20 (above picture): Repeat Step 13 with the color B, then the color A. Tie in your working thread at this point. This is what the bracelet should look like up to this point.
Step 21
Repeat Step 12 with the bead C. Take the tail of the ladder to finish connecting the bracelet to the last twist. (Repeat steps 9-11.)
Tip: To make the join tight, you may have to go through and tie the beginning of each of the points to the center ladder as well.
Step 22
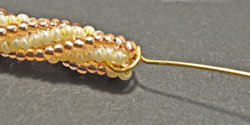
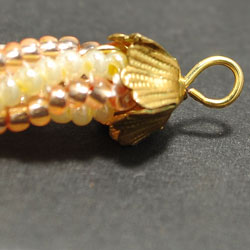
Run one of the gold wires through the end of the twist. (I went about two rows in from the end of the beadwork.) Form a loop around the beadwork to fasten the wire.
Step 23
Slide one of the gold caps on to the wire, and then make a loop with the round nose pliers to attach the clasp. Clip any overhang from the wire.
Repeat the above step for the other side of the bracelet, attaching your jump ring at the end.
Tip: You can use which ever types of end caps you feel, just as long as the twist with wire around it fits inside.

