DIY - Blue Medallion Earrings
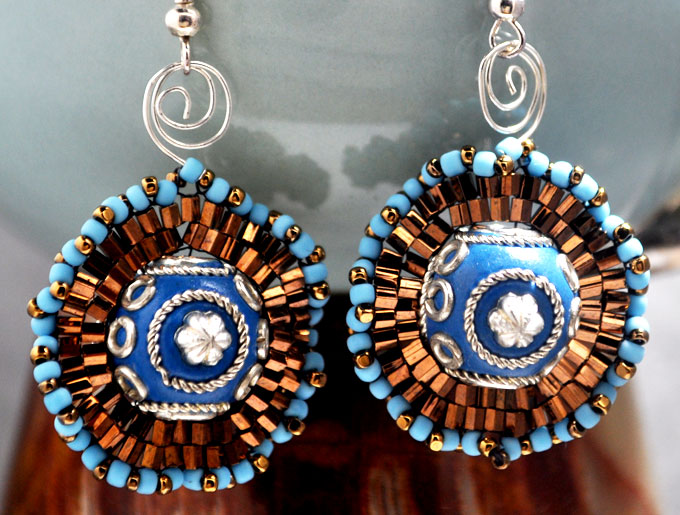
A simple, yet elegant brick stitch, surrounds the lovely blue Maruti Bead in these earrings. The bronze seeds accents the color beautifully, as well as adding a special touch to the brick stitch with it’s “hex cut”. The ruffled edge finishes off these earrings, tying in both colors nicely.
Inspired by vintage tribal medallions, these earrings are sure to catch an eye with their beauty. This is a great first time project for the beginning beader, learning basic stitches and techniques.
Materials:
- 2 13mm Blue Kashmiri Beads (Used MBD-999 for this DIY)
- 11/0 Hex Cut Seed Beads in Bronze
- 11/0 Opaque, Matte Seed Beads in Light Blue
- 15/0 Seed Beads in Bronze
- 2 Sterling Silver Headpins (22-24 gauge)
- 2 Sterling Silver Ear Wires
- Black Beading Thread
Tools:
- #12 Beading Needle
- Round Nose Pliers
Step 1
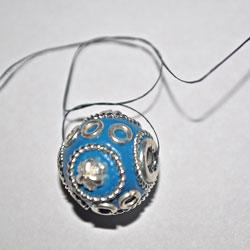
String one of the Kashmiri Bead and make a surgeon's knot around one half of the bead. Pull the knot inside of the bead.
Step 1 Tip
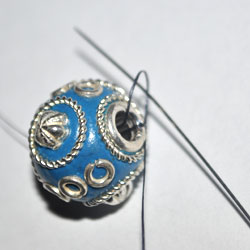
If the hole running through the bead is large, make a loop and half hitch knot on the side of the bead your working thread is coming out of. This way when you move to step 2, the thread will not dip inside of the bead.
Step 2
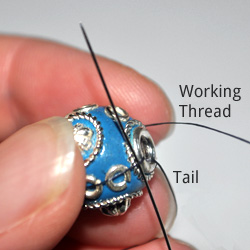
Wrap the thread around the rest of the bead. When you reach the point at which you started the loop, slide the thread under (the previously knotted loop) pulling snug to secure. You will now have thread running around the entire bead. (This is the base thread.)
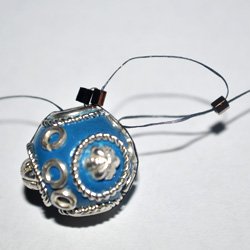
Step 3a
Start working a row of brick stitch with the 11/0 Bronze seed beads. This will become the first ring around the Kashmiri Bead.
(When beginning brick stitch: Start with two beads, go under the thread you are securing the beads to, and out the last bead strung. To continue on, you just add one bead at a time.)
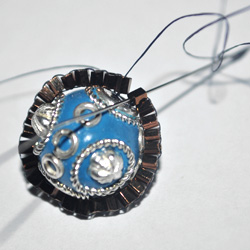
Step 3b
To end the first row be sure to go down through the starter bead, slip the needle under the base thread, and go back up through the starter bead again. This will cinch the row together.
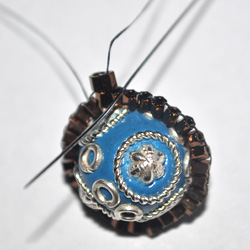
Step 4a
Start another row of brick stitch with the 11/0 Bronze seed beads. (Your anchor points are in between each bead on the previous row.) Since this row is larger than the previous, you may have to add an extra bead to an anchor point from time to time.
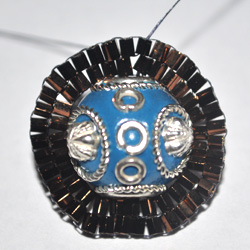
Step 4a Tip
Tension is everything. Pulling the thread too tight around the circle will cause it to buckle. Care must also be used with hex cut beads, because the edges are so sharp.
(Here are the two completed rounds of 11/0 Bronze seed beads.)
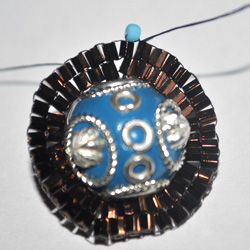
Step 4b
For the third row, pick up a size 11/0 blue seed bead. String under an anchor point from the previous row. This time you will not be going back through the bead. Pull tight so the bead rests flat. Continue in this fashion all the way around the circle. End by going through the first blue bead strung.
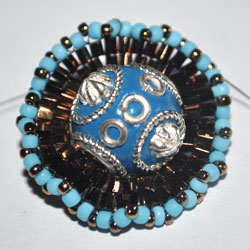
Step 5
Pick up a 15/0 bronze seed bead. Go through the next blue bead. Repeat until there is one 15/0 bronze seed bead in between each blue bead. The edges will slightly ruffle, and is not meant to lay flat.
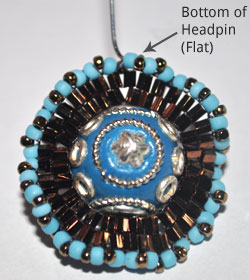
Step 6
Push a headpin through the center of a blue seed bead. Carefully bend upward to form an "L" shape. (Make sure you are picking which way you want the earring to hang.)
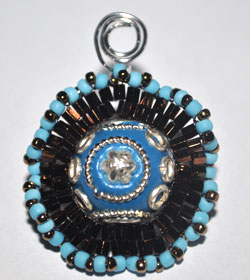
Step 7
From the top of the headpin form a loop with the round nose pliers. Keep twisting the rest of the wire around the edge of the loop to form a swirl. Adjust the middle loop as needed. Now you can open the loop on your ear wire, and attach the earring. Repeat steps 1-7 for the second earring.
Tip
Remember to play close attention to the orientation of the swirl in the last step on the second earring. They should mirror each other - so when you get to this step, everything has to be done backwards.
