DIY - Peppermint Gems Earrings
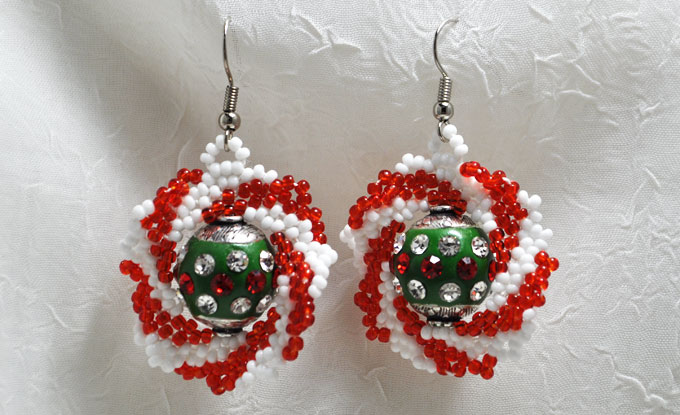
Red and white seed beads work beautifully together in circular peyote stitch to form what resembles a most beloved treat - the peppermint candy. The Maruti Bead in the center is like a gem nestled inside of this sweet treat. The colors of the rhinestones are reflected perfectly with surrounding swirls of red and white seed beads.
These earrings are definitely a simple project that make a huge visual impact. With a little understanding of basic stitches, one would be able to whip these up in no time. Relative tension, as well as seed bead size selection, are a key component in making these candy gems.
MATERIALS:
- 2- Silver Plated Earwires
- White Beading Thread
- 11/0 Opaque White Seed Beads (A)
- 11/0 Transparent Red seed beads (B)
- 2 Maruti Beads (Used MB-1115 for this DIY)
TOOLS:
- #12 Beading Needle
- Round Nose Pliers
Step 1 (Round 1)
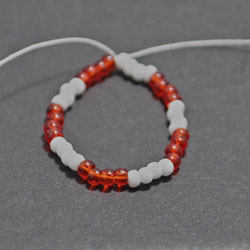
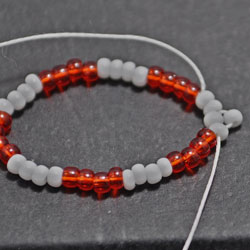
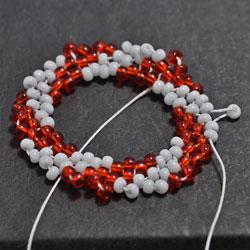
Using 4.5 feet of thread string 4A, 4B, 4A, 4B, 4A, 4B, 4A, 4B, 4A, and 4B for a total of 40 beads. Tie into a circle (tight) leaving a 4 inch tail. Go through the first 1A strung to start the second round.
Step 2 (Round 2)
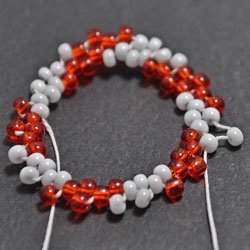
String 1A, skip over 1A from the first round, then pass through the next A from the first round. (This is the start of the circular peyote.) The rest will go as follows skipping beads in the same fashion all the way around the circle: 1A, 1B, 1B, 1A, 1A, 1B, 1B, 1A, 1A, 1B, 1B, 1A, 1A, 1B, 1B, 1A, 1A, 1B, and 1B. Step up through the first bead added in this round.
Tip: The bead you are adding should be the same color as the bead you just exited.
Step 3 (Round 3)
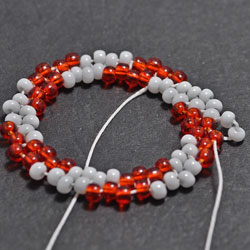
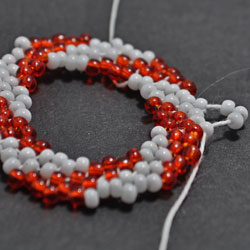
Add a bead in between each one that was just added in Round 2 in this sequence: 1A, 1A, 1B, 1B, 1A, 1A, 1B, 1B, 1A, 1A, 1B, 1B, 1A, 1A, 1B, 1B, 1A, 1A, 1B, and 1B. Step up through the first bead added in this round.
Tip: Relative tension will keep the piece flat.
Step 4 (Round 4)
Add two beads in between each one that was just added in Round 3 in this sequence: 2A, 2A, 2B, 2B, 2A, 2A, 2B, 2B, 2A, 2A, 2B, 2B, 2A, 2A, 2B, 2B, 2A, 2A, 2B, and 2B. Step up through the first two beads added in this round.
Tip: If the piece starts to buckle; one bead can be added here and there, instead of the two, to keep the piece flat. Also, if you are working with beads that are not uniform, you can substitute thin/wide beads that will fill the gap better.
Step 5 (Round 5)
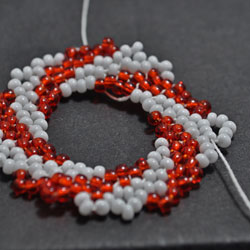
Add one bead in between each set of two beads that were just added in the previous round. Round 5 should have this sequence: 1A, 1A, 1B, 1B, 1A, 1A, 1B, 1B, 1A, 1A, 1B, 1B, 1A, 1A, 1B, 1B, 1A, 1A, 1B, and 1B. Step up through the first bead added in this round.
Tip: Remember if you made any changes to the previous round (you would be going through just the one bead instead of the set of two).
Step 6 (Round 6)
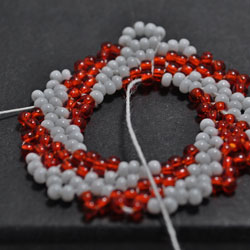
Add three beads in between each bead that was added in the previous round. Round 6 should have this sequence: 3A, 3A, 3B, 3B, 3A, 3A, 3B, 3B, 3A, 3A, 3B, 3B, 3A, 3A, 3B, 3B, 3A, and 3A, 3B, and 3B. Step up through the first three beads added in this round.
Tip: If the piece does not lay flat, you can add two beads here and there, instead of three. Also, you can substitute different sizes as before.
Step 7
String 5A and go through the three beads that you just stepped up through at the end of the last round. This will form a loop. Go through all 8 beads in the loop a couple times to reinforce.
Step 8
Weave down toward the center of the circle.
Tip: Make sure you are in line with the loop you just made.
Step 9
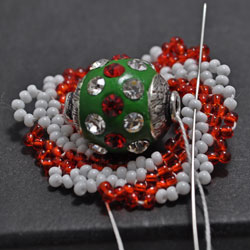
String the Maruti bead. Go through the bead directly opposite of the one you are coming from (on the other side of the circle). Go back up through the Maruti bead, and out through the seed bead that you first started at. Do this a few times to reinforce the connection.
Step 10 (no picture): Tie off all tails and trim.
Step 11 (no picture): Add ear wire to loop.
Step 12 (no picture): Repeat steps 1-11 for the second earring.

